
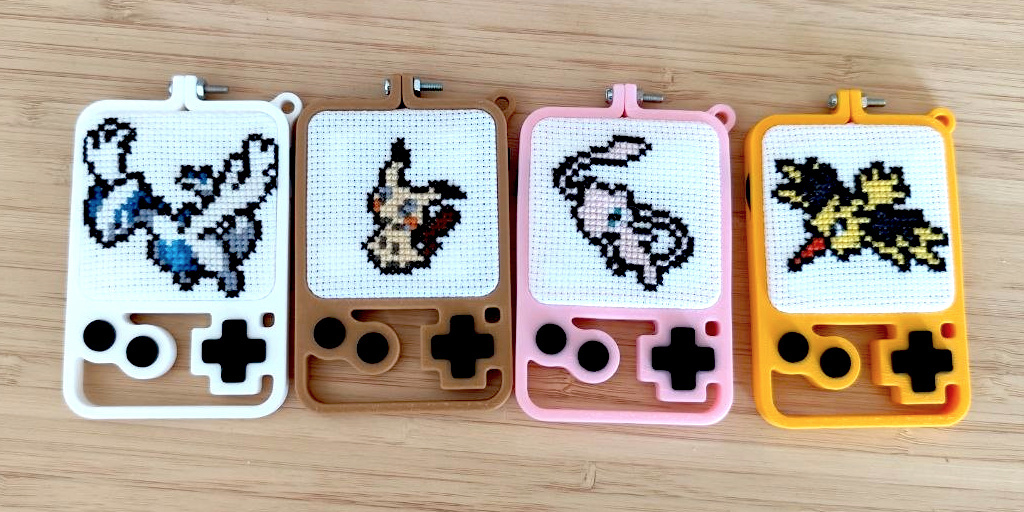
Finding Clean, Uncompressed Game Sprites
The first step is to get the sprite you want to stitch. It should be in an uncompressed, “pixel perfect” format (e.g. PNG or BMP) to avoid blur and make the next steps significantly easier.
There are plenty of websites with game sprites for download, the one I had good experience with is The Spriters Resource. You can search by character name, console, or game title. For this guide, I’ll use Pokemon sprites as an example, showcasing the workflow I use to make patterns for our weekly Pokestitch series over on Instagram.
For my project, I wanted the “Pokémon Ultra Sun / Ultra Moon” mini sprites, so I searched for “Ultra Moon” and selected Games instead of Assets:
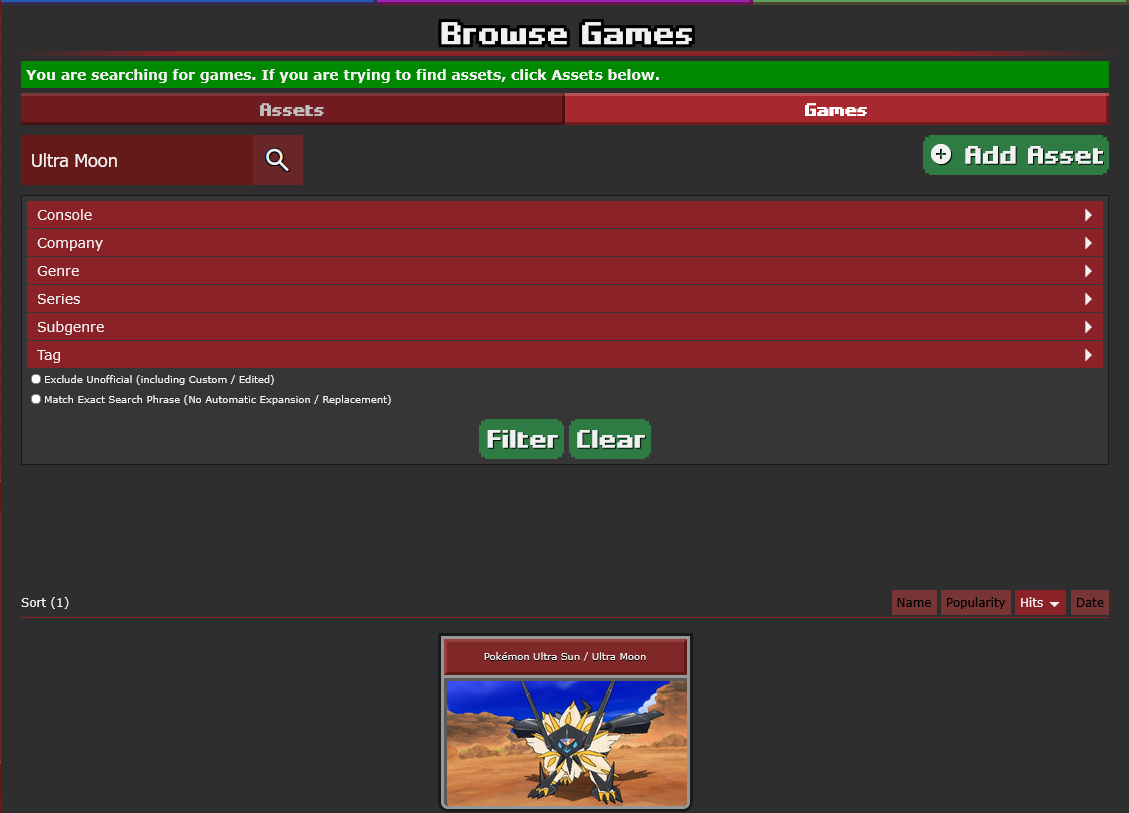
Once inside, there is a large collection of sprites and sprite sheets to download. I grabbed the “Pokemon Icons” sheet under Miscellaneous. It contains a full grid of small icon sprites (maximum about 32x32 pixels, which later corresponds to 32x32 stitches) in a single image.
If you downloaded a single sprite, and not a whole set (single image with multiple), you can skip the next step.
Isolating a Single Sprite in MS Paint
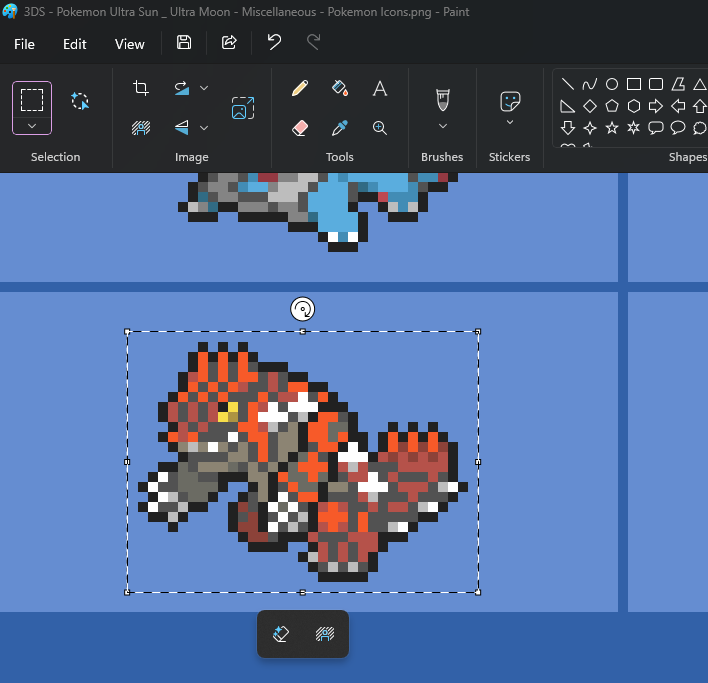
Because the sheet contains hundreds of icons, we need to cut out just the Pokémon we want to stitch. For this I simply used Paint. Opened the image and with the rectangle selection tool cut out a single Pokemon with a 1 pixel border. Then cut and past it into a new Paint window and save it as a PNG.
Converting the Sprite to a Pattern in FlossCross
With the isolated sprite ready, it’s time to transform it into a cross-stitch pattern. For this, we’ll use another amazing free browser tool called FlossCross.
Go to FlossCross and click Create Pattern. Then on any empty slot click FROM IMAGE. Select/upload the sprite image and choose Pixel Art in the bottom left corner. It will look blurry but don’t worry, it will not look like that at the end!
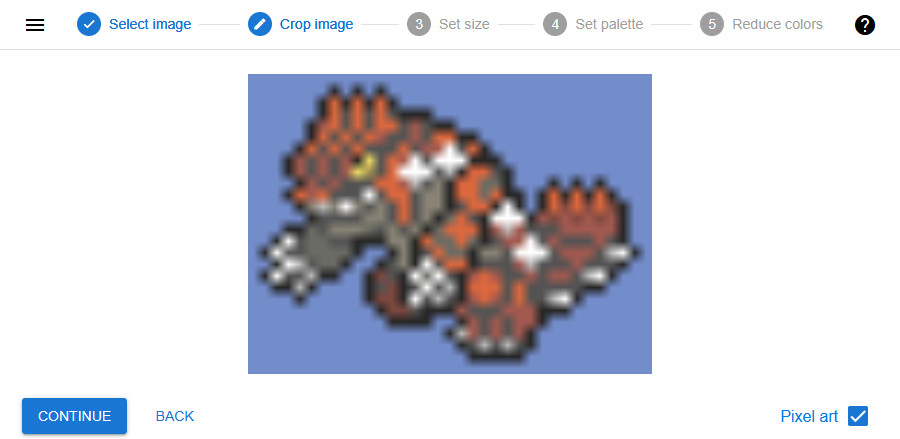
Click through the next tabs, no changes needed here. FlossCross will generate a chart with the pixels mapped to the closest matching DMC thread numbers.
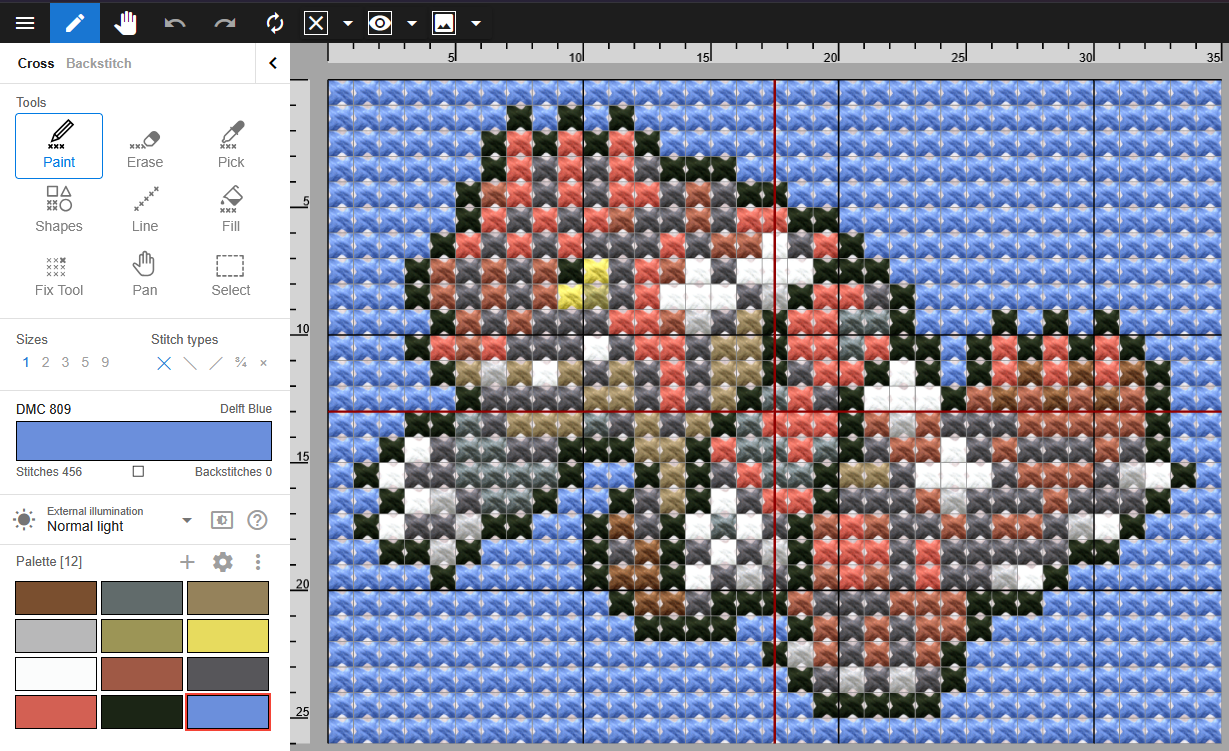
Reducing Thread Colors
Game sprites are designed to look great on screen in small sizes, where subtle gradients get blurred by our vision making them visually more appealing. These “tricks” do not scale well to large cross-stitch sized sprites and therefore the colors need to be adjusted and reduced.
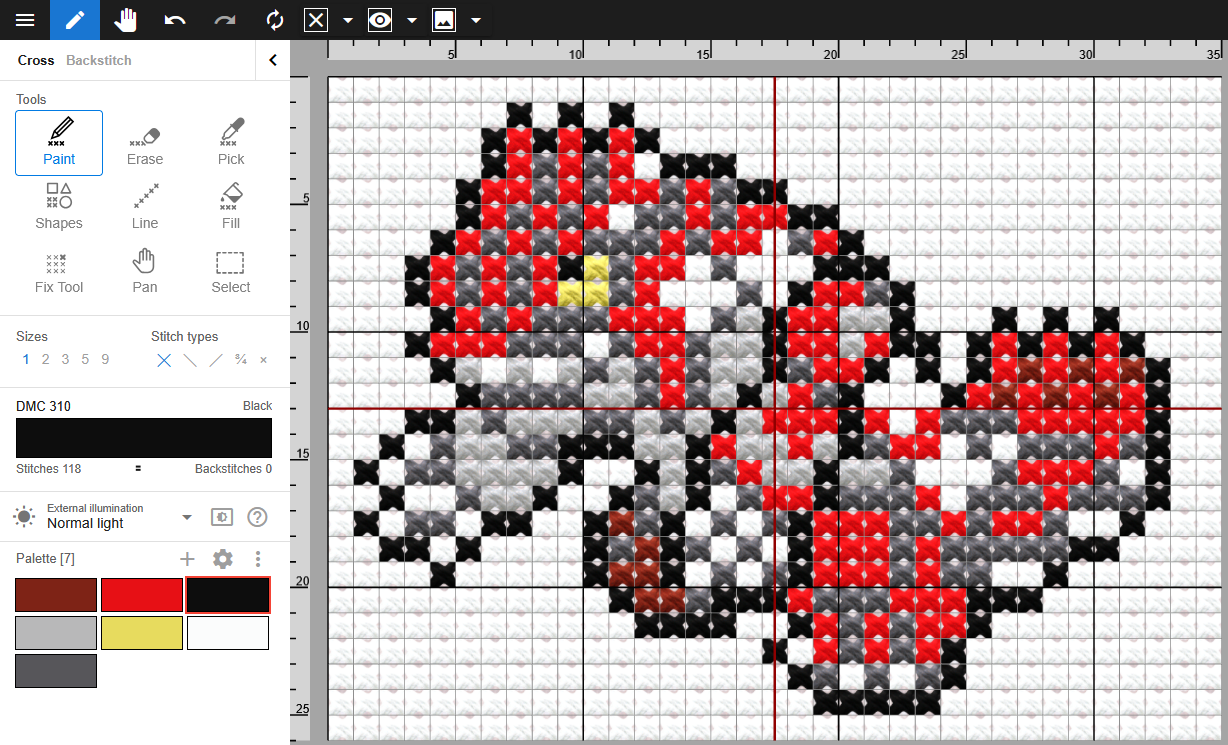
So the next step is to reduce the color amounts, I for the Pokemon tried to keep the color palette to around 5-8 colors including black and white. Use FlossCross pixel paint tool to change individual pixels or fill to change whole areas.
The first optimization I always did was changing the “close-to-black” outline color to black, and the different off-whites to simple white. Then removing most if not all shading. I looked up other sprites of the Pokemon as a guide on what colors are just shading and can be removed.
As an example, below is the color reduced version of the loaded sprite before (reduced from 12 to 7):
Ready to Frame?
That’s all there is to it! This method works for practically any 8-bit, 16-bit, or retro game sprite you can find.
Once you export your finished pattern preview as an image, remember to check your sizing before cutting your fabric. A 32×32 stitch sprite will turn out around:
- 2.3 inches (5.8 cm) on 14-count Aida
- 1.8 inches (4.5 cm) on 18-count Aida
These sprite cross-stitches are a perfect match to our collection of Keychain Hoops like the Retro Console! You can head over to our Interactive Hoop Visualizer to preview sizes, shapes, and frame colors!